Seed Saving Guide
Stop buying seed packets every spring. Save seed from your strongest plants, dry it right, and store it cool and dark. Next year's garden replants itself for free, and each season it gets a little more adapted to your soil and your weather.

Save seed from your best plants and you stop buying packets every spring. You harvest, dry, and store the seed, then plant it again year after year. You save money. Your crops adapt to your own soil and climate over the years. Next season's food is already in your hands, not waiting on a delivery.
Four things to get right: which seed to save, how to harvest and dry it, how to store it, and how to test it before you plant.
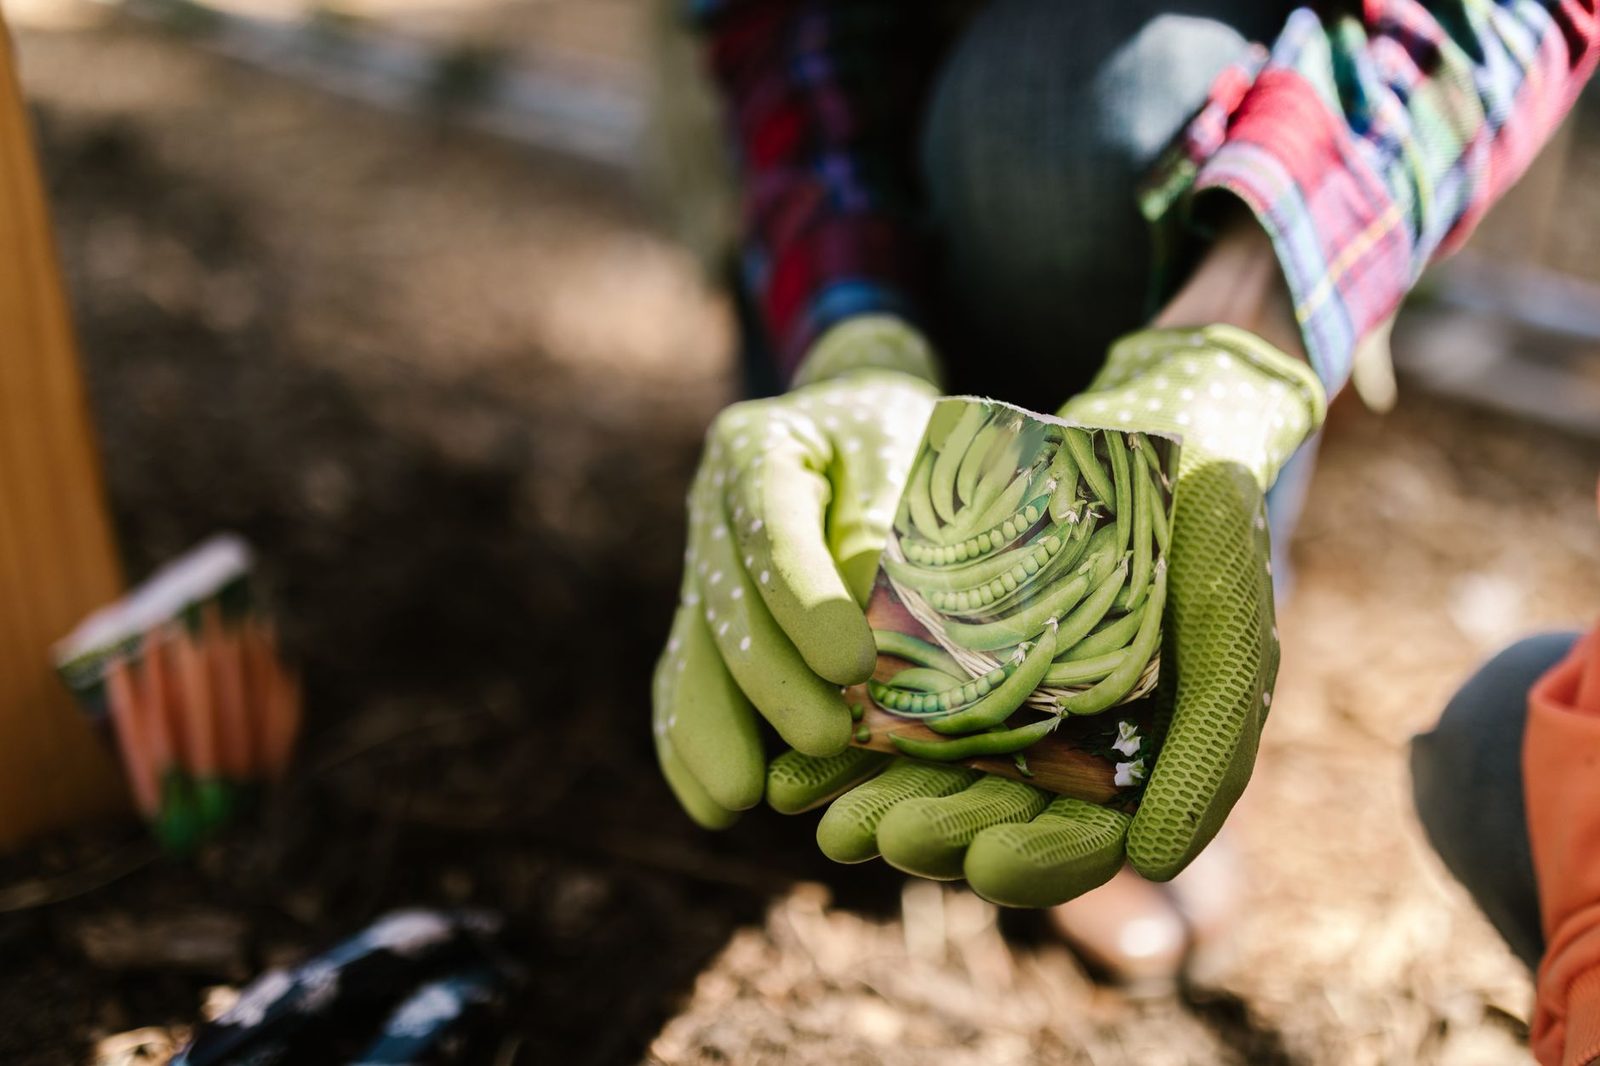
Start with the right seeds
You cannot save seed from just any plant and expect it to come back true to type. Three categories matter.
- Open-pollinated plants breed true from seed. Save their seed and you get the same plant next year. This is what you want.
- Heirloom varieties are open-pollinated plants passed down for generations, usually fifty years or more. They are a subset of open-pollinated, selected for flavor and regional hardiness.
- Hybrid (F1) plants are a cross of two distinct parent lines. Their seed does not breed true, so saved seed produces unpredictable, often inferior offspring. Do not rely on hybrid seed for a survival garden.
- GMO seed is patented and often sterile or legally restricted. Skip it entirely.
Buy open-pollinated and heirloom seed from a reputable source, then save seed from the plants those produce. Never save seed from grocery-store produce. It is almost always hybrid and often irradiated or treated to prevent sprouting.
Easiest crops for a beginner
Start with self-pollinating plants. They pollinate themselves before the flower opens, so there is little risk of cross-pollination and the seed comes back true without any isolation work.
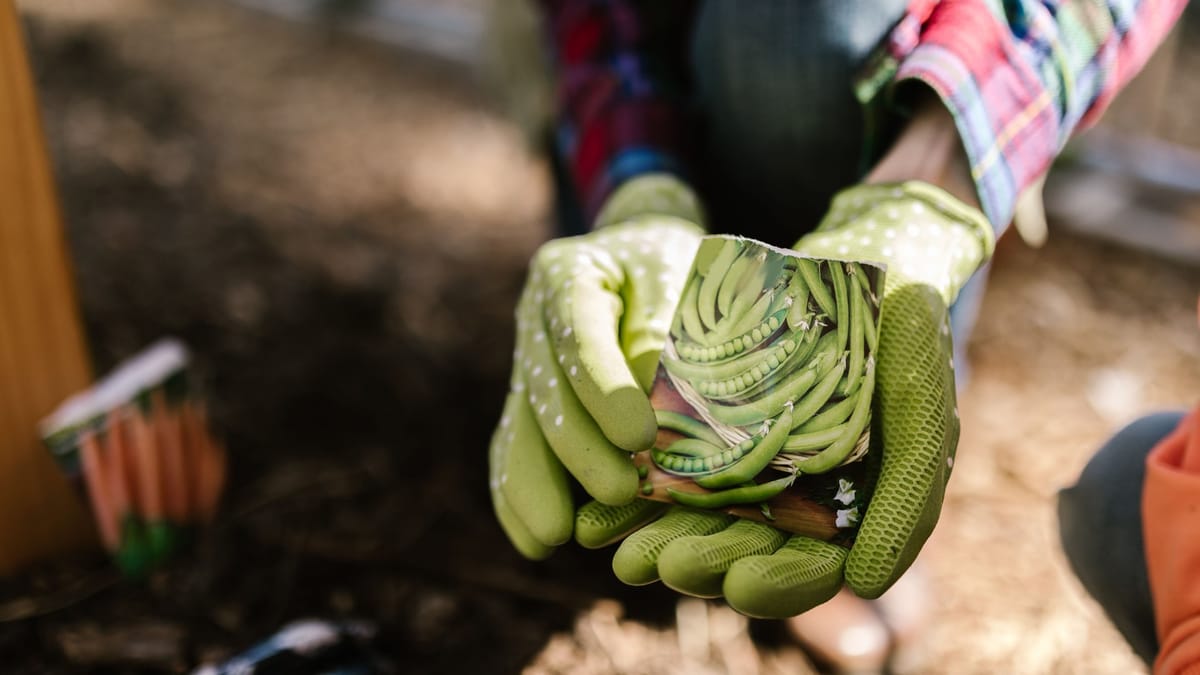
- Beans and peas: let the pods dry brown and rattly on the vine, then shell them.
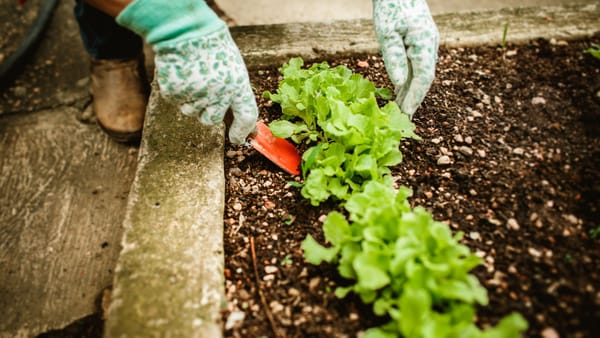
- Lettuce: let a few plants bolt and flower. The seed heads produce seed in a week or two.
- Tomatoes: save seed from fully ripe fruit using the wet fermentation method below.
- Peppers: scrape seed from a fully ripe pepper and dry it.
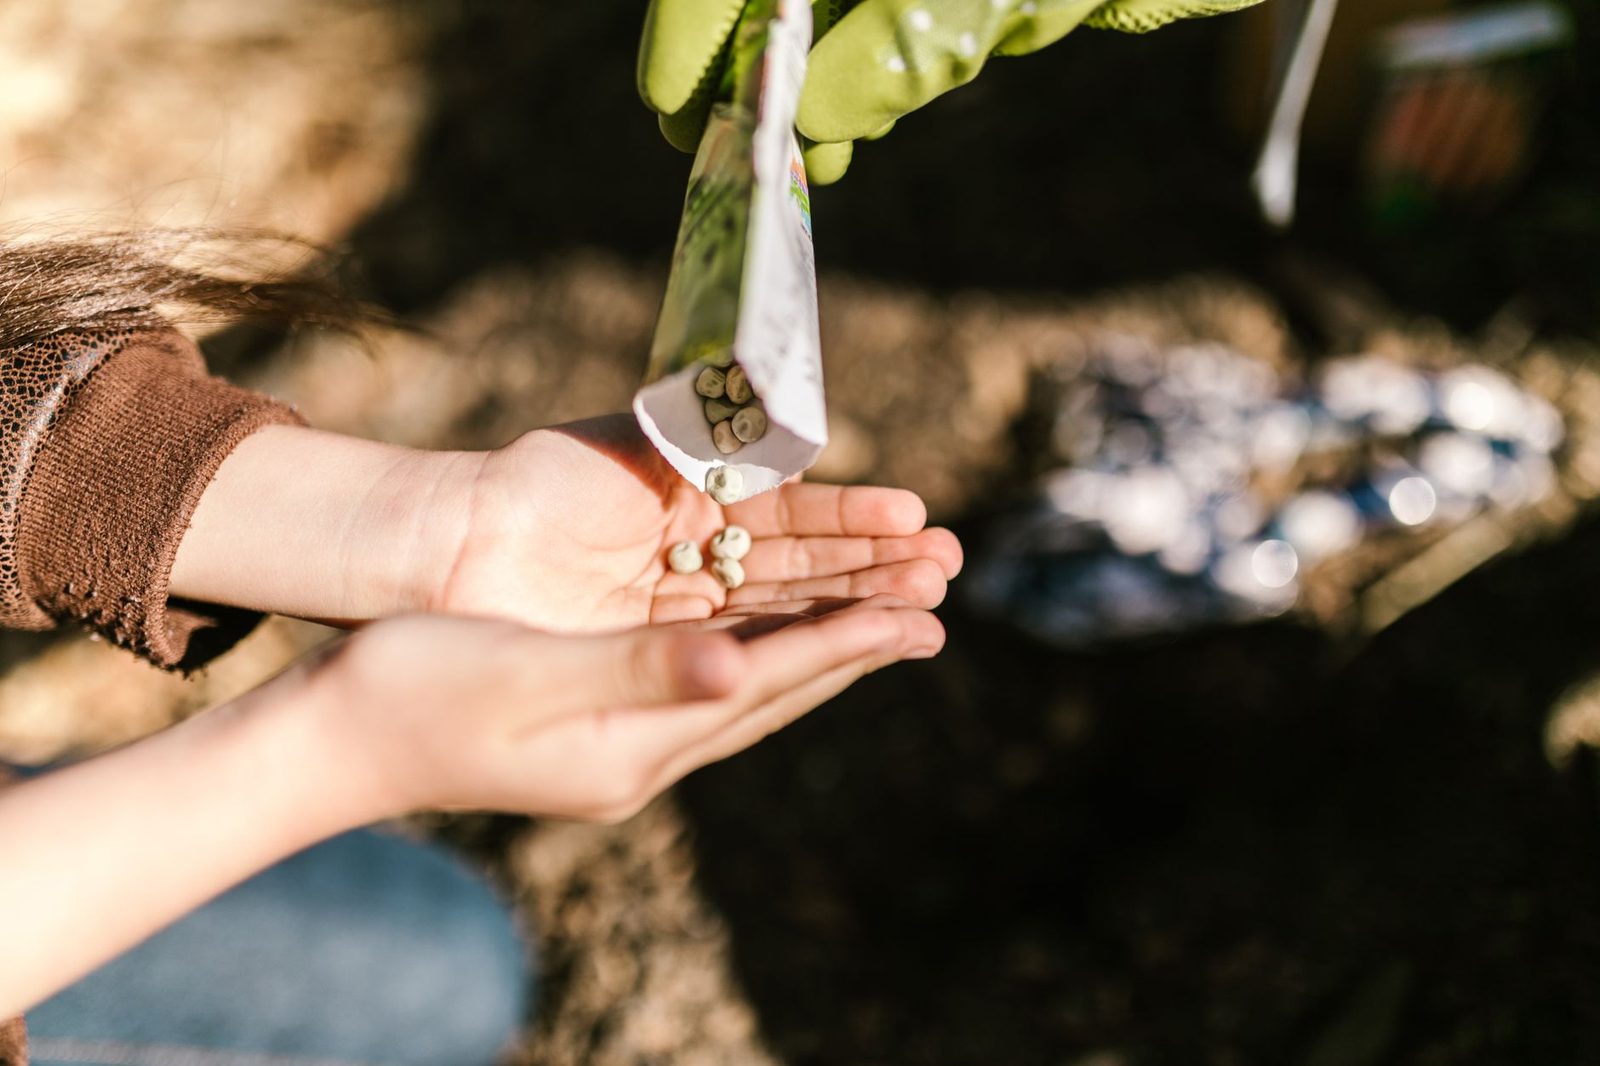
Self-pollinators are forgiving. Master these before you move to cross-pollinated crops like corn, squash, cucumber, and brassicas, which need distance or hand-pollination to stay true.
Selecting which plants to save from
Do not save seed from your weakest plants. Save from the strongest, healthiest, earliest-producing plants with the traits you want. This is selection, and doing it every year is how a variety adapts to your garden over time.
Mark your chosen plants early in the season with a stake or tie. Do not harvest all the fruit from them. Leave some to mature fully for seed. A plant producing seed needs more time on the vine than one producing food, so plan for that.
Dry seed vs. wet seed
Two methods cover every crop.
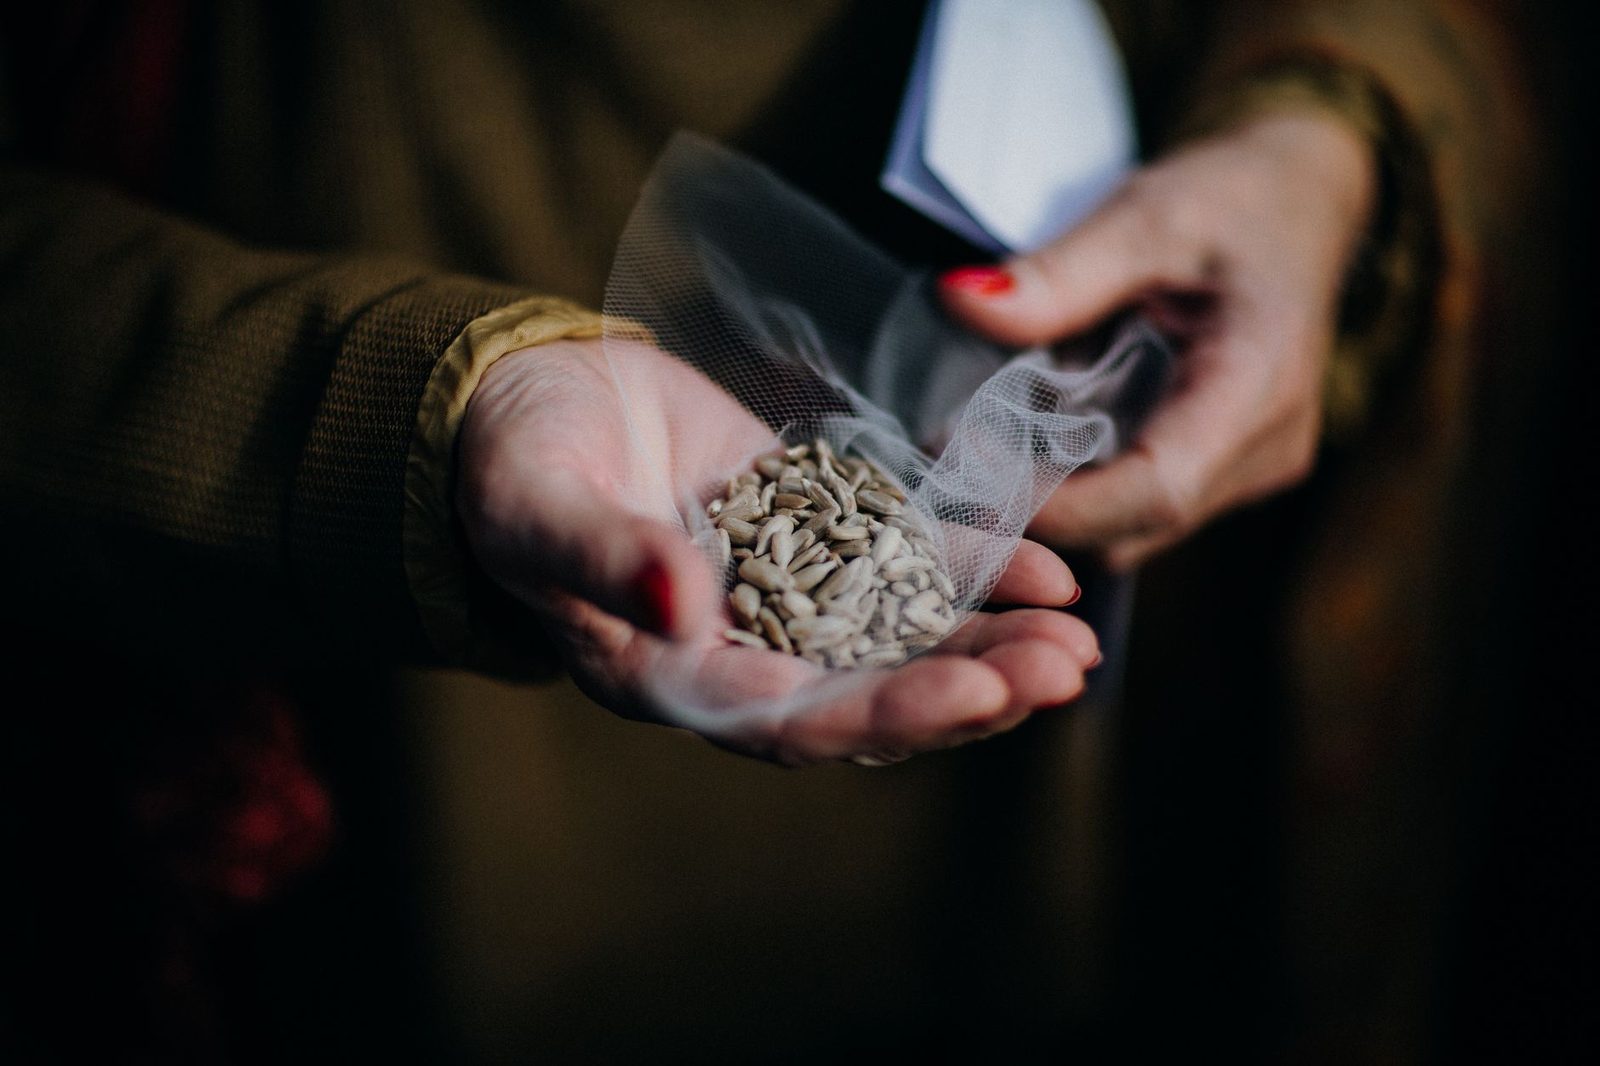
Dry-seed method
For beans, peas, lettuce, peppers, onions, carrots, and most flowers:
- Let the seed head or pod dry completely on the plant.
- Harvest on a dry afternoon.
- Thresh and winnow to separate the seed from the chaff.
- Dry it further indoors for a week to ten days before storage.
Wet-seed method (tomatoes, cucumbers, melons, squash)
The seed sits in a gel sac inside the fruit.
- Scoop the seeds and pulp into a jar and add a little water.
- Let it ferment two to four days at room temperature. A layer of mold will form on top. That is normal. It dissolves the gel coat that stops germination.
- Stir daily. Good seed sinks to the bottom.
- Pour off the mold, pulp, and floating seeds.
- Rinse the seed that sank in a fine strainer and spread it on a coffee filter or screen to dry.
Do not dry the seed on a paper towel. The wet seed sticks to it.
Drying and storage
Seed must be bone-dry before it is stored. A general test: a dry bean seed shatters when hit with a hammer instead of mashing, and a dry seed bends or snaps rather than flexing.
The three enemies of stored seed are heat, moisture, and light. Store seed in a cool, dry, dark place. The sum of temperature in Fahrenheit and relative humidity should stay below one hundred for good longevity. Cooler and drier is always better.
- Containers: glass jars with a tight lid, or metal containers. They block moisture and pests. Add a desiccant packet to absorb leftover moisture.
- Label everything: crop, variety, and the date saved. Use a permanent marker or a label inside the jar, not just on the lid.
- Location: a basement shelf, a dark closet, or the back of a cool cupboard. Not the garage in summer, not the attic, not near a heat source.
- Freezing for long-term storage: fully dried seed can be stored in the freezer in an airtight, moisture-proof container for years. Let the container come to room temperature before opening so condensation does not hit the seed.
Storage life by crop
Seed viability drops over time, and it varies by crop. As a rough guide, properly stored:
- 2 to 3 years: onions, leeks, parsnips, corn
- 3 to 4 years: beans, peas, carrots, peppers
- 4 to 5 years: tomatoes, brassicas (cabbage, broccoli), cucumbers, squash, melons
- 5+ years: lettuce, radishes, many herbs
These are not hard limits. Old seed often still germinates, just at a lower rate. Rotate your stock: plant the oldest seed first and replenish it each year.
Test germination before you plant
Do not find out in the spring that your whole jar is dead. Test a sample a few weeks before planting.
- Count out ten seeds.
- Lay them on a damp paper towel, fold it over, and seal it in a plastic bag.
- Keep it warm, around seventy degrees Fahrenheit.
- Check daily and keep the towel damp.
- After the crop's normal germination window, often five to ten days, count how many sprouted.
Eight out of ten is an eighty percent germination rate. If it is lower, sow thicker to make up for it, or replace the stock. If nothing sprouts, the seed is dead. Buy fresh and start over.
Build the habit
Seed saving is not a one-time task. It is a yearly rhythm: select plants in summer, harvest and process in fall, store and label in winter, germ-test and plant in spring. Each season the seed you saved becomes better adapted to your soil, your rainfall, and your frost dates than anything you can buy.
Start this year with one easy crop, beans or tomatoes, and learn it end to end. Add lettuce and peppers the next season. In a few years you will have a seed bank that keeps the garden going. No store run, no shipping, and the expiration date is whatever you wrote on the jar.